How to setup port forwarding and basic firewall settings
For the virtual server to work properly, port forwarding must be configured to use the services running on the server. You can use any port you like.
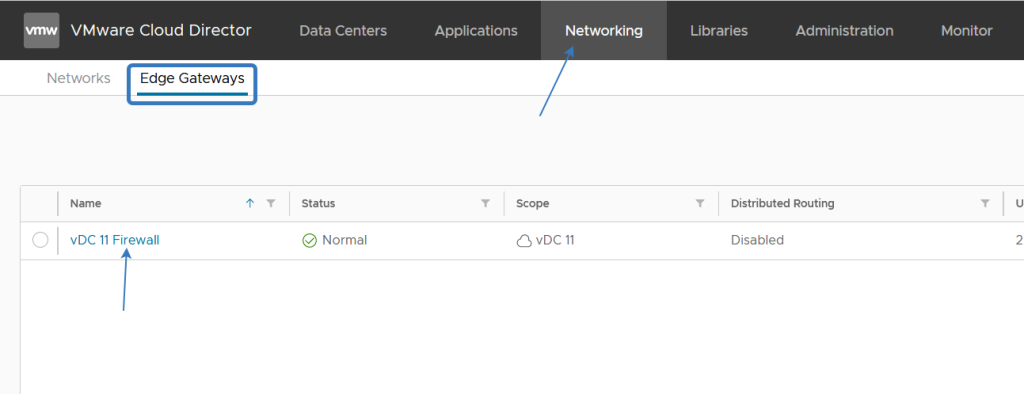
First, go to Networking – Edge Gateways and click
(for example)
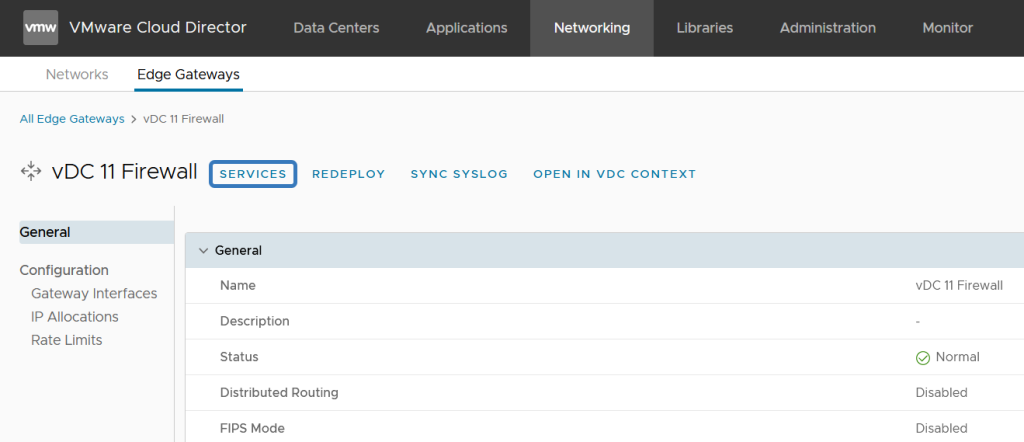
Then click Services
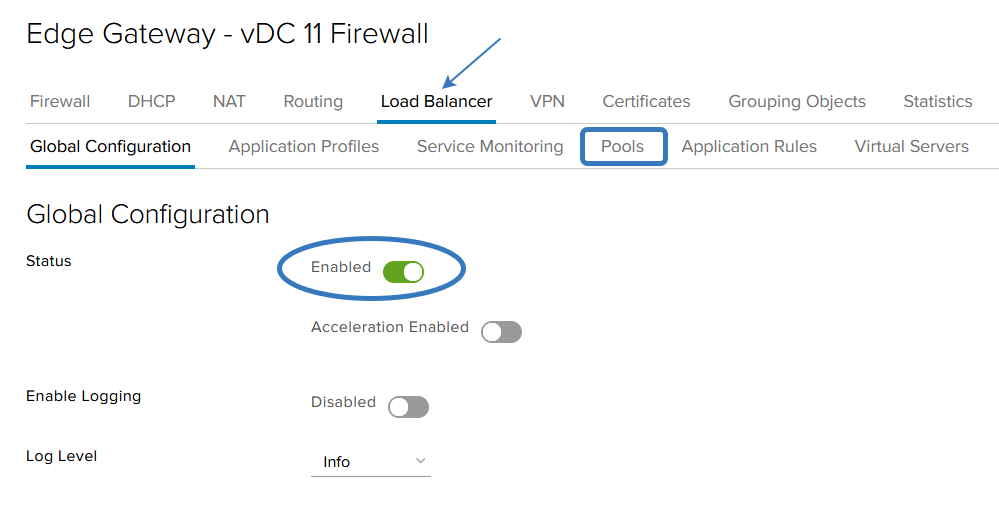
Go to Load Balancer and check Status – you need to enable it! When you have checked Status, click on the Pools menu
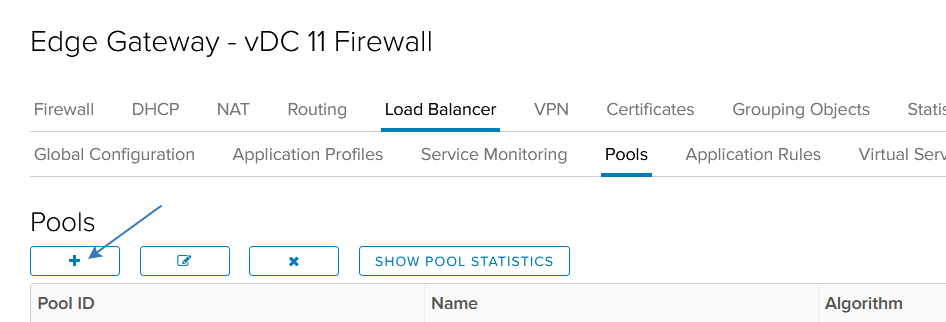
Then press the “+” icon
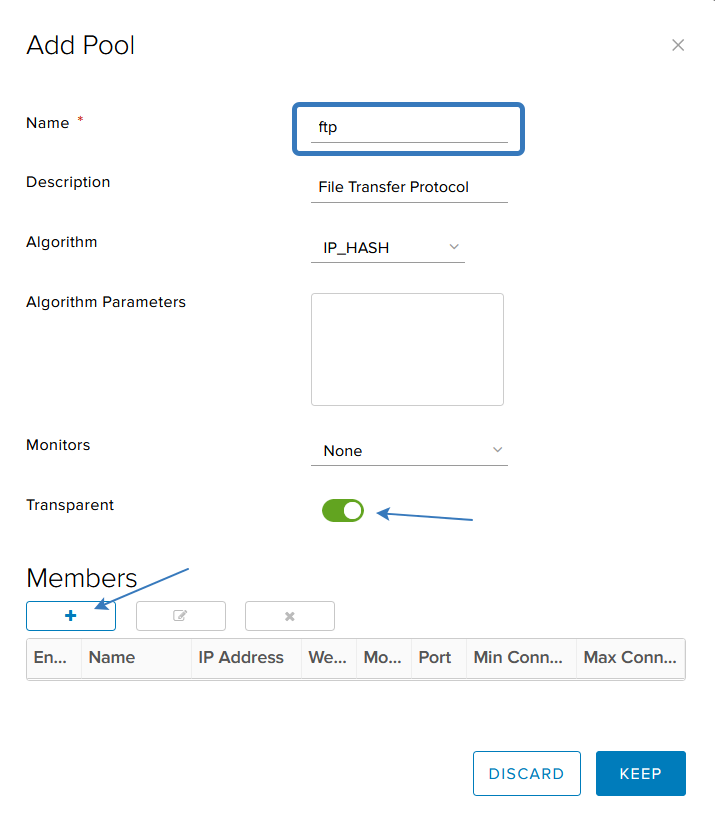
You will see Pool configuration. Enter Name and choice IP_HASH in Algorithm. Enable Transparent options, if you want to see the correct client IP addresses in the logs. Now click “+“.
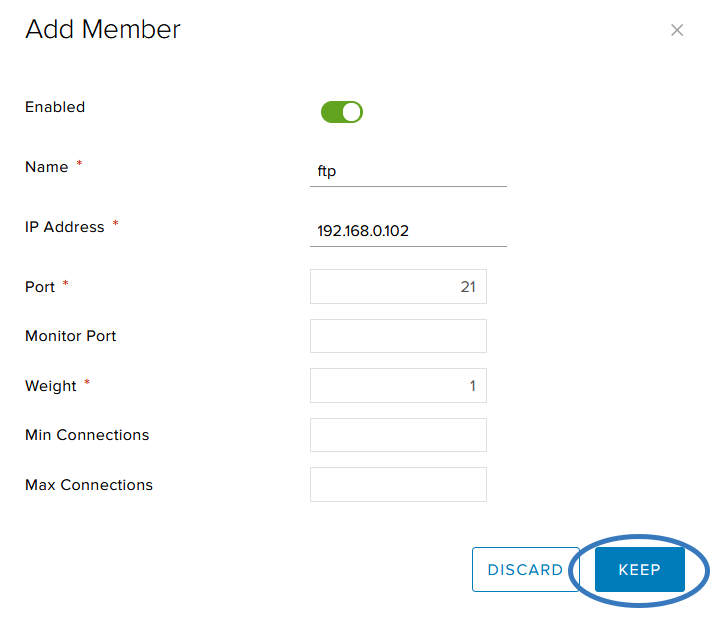
You see Add Member menu. Please enter Name and IP address of the virtual machine to which we are forwarding the port. Enter the Port number to be forwarded. The Weight field can be left as default. And click Keep. At the next screen you need to click Keep again.
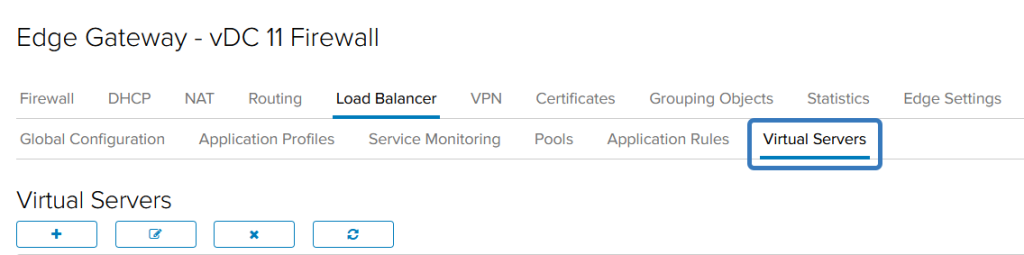
Now we go to the Virtual Servers menu and click on the “+” icon
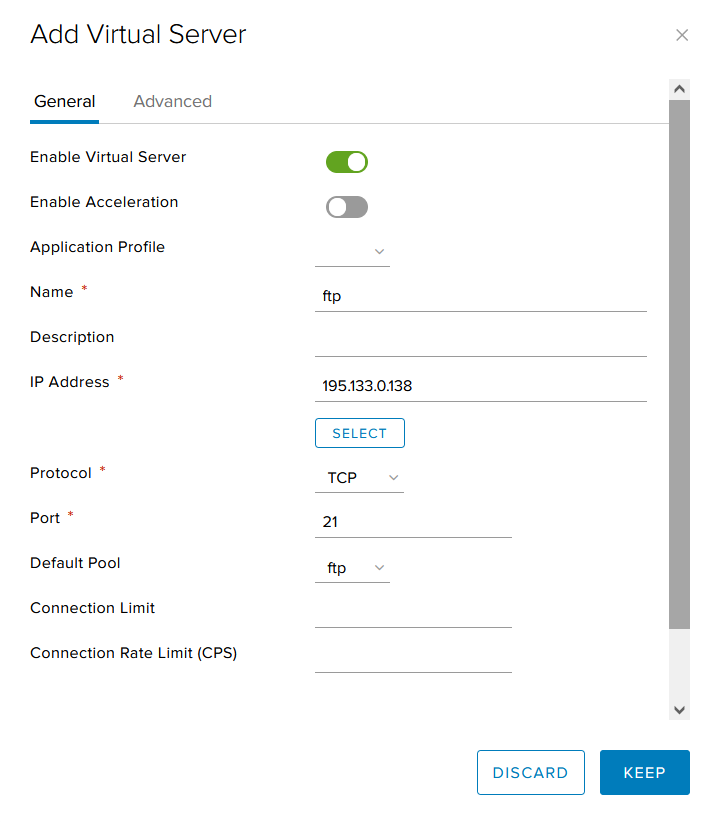
Now you need activate “Enable Virtual Server”. Enter Name of service, enter your external IP Address in IP Address field (click Select and choice Cloud clients than click Keep).
Check Protocol and Port number. Now you need choice Default pool (this example using ftp name). Click Keep.
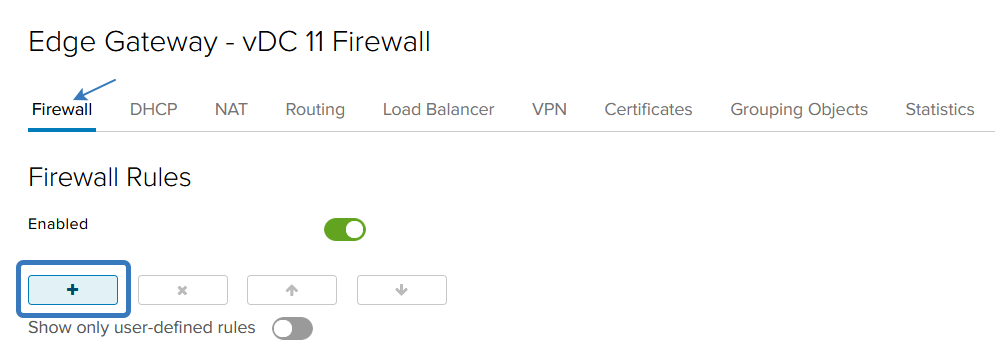
Now we need to configure the firewall, so open the Firewall tab and click the “+” icon
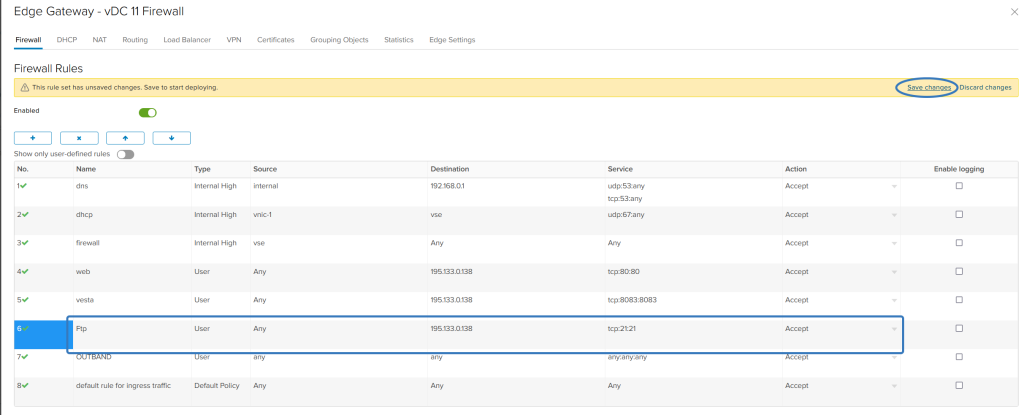
Fill in the fields as shown in the example above (in this case the FTP service). Don’t forget to click on the save changes link in the top right corner of the screen)
Name – name of service.
Type – user.
Source – any or needed address.
Destination – external IP address or needed
Service – enter number of protocol type and port.
Action – accept or deny if needed.
We do not recommend the use of Logging, but you can.
![]()